Reading images
Vuba provides a convenience wrapper - vuba.Video - around the decoders in OpenCV but with an additional level of abstraction. It has the exact same API regardless of the footage format, whether it is separate images or movies. Below we will demonstrate it’s usage with both images and movies, and also in creating in-memory and out-of-core frame containers for subsequent image processing.
Initiation
As mentioned above, vuba.Video has an equivalent API regardless of footage format. The following code demonstrates a couple of ways one can initiate this wrapper with separate images:
In [1]: import vuba

# Using a glob pattern
In [2]: video = vuba.Video('../examples/example_data/raw_images/*.png')
# Using a list of filenames
In [3]: video = vuba.Video([f"../examples/example_data/raw_images/{i}.png" for i in range(100)])
and then with movies:
In [4]: video = vuba.Video('../examples/example_data/raw_video/test.avi')
At initiation, a number of attributes describing the footage will also be filled:
In [5]: print(f"Resolution: {video.resolution}")
Resolution: (870, 844)

In [6]: print(f"Width: {video.width}, Height: {video.height}")
Width: 870, Height: 844

In [7]: print(f"Frame-rate: {video.fps}")
Frame-rate: 15

In [8]: print(f"Fourcc code: {video.fourcc_code}")
Fourcc code: 1196444237

In [9]: print(f"Codec: {video.codec}")
Codec: MJPG

In [10]: print(f"Number of frames: {len(video)}")
Number of frames: 100

In [11]: print(f"Handler type: {type(video.video)} \n")
Handler type: <class 'cv2.VideoCapture'>
Note that since OpenCV is used under the hood, any type of footage that is compatible with OpenCV is also compatible with vuba. Second to this, it is important to bear in mind that this wrapper has been designed with usage of videos or continuous sequences of frames in mind. Thus, even though you could in theory use this wrapper with individual images, it is recommended to use cv2.imread instead as this will be much simpler.
Reading in frames
All reading operations are handled by Video.read. This method encapsulates decoders associated with reading in both individual frames and multiple frames. Reading single frames is as simple as the following:
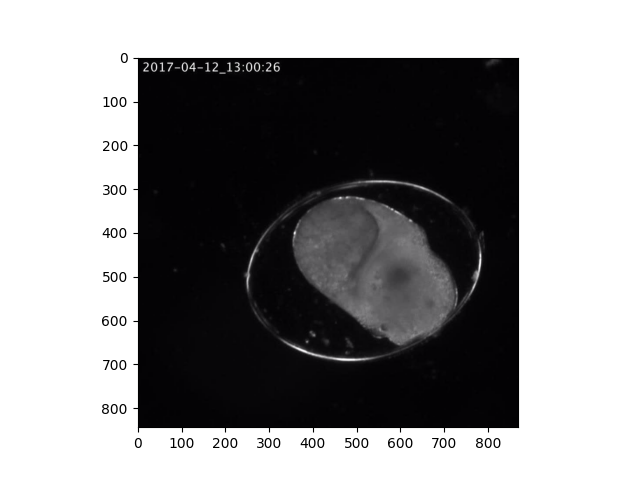
# Read in the first frame
In [12]: first_frame = video.read(index=0)

In [13]: plt.imshow(first_frame)
Out[13]: <matplotlib.image.AxesImage at 0x7fd4de92f890>
The methods for multiple frames follow slice behaviour, whereby there is a start, stop and step. This allows us to easily import specific frames (by using a start and stop) and subsample them further (by using a step):
# Read in the first 50 frames, skipping every second frame.
In [14]: frames = video.read(start=0, stop=50, step=2)
We can also optionally grayscale frames read in using either operation by supplying True to the grayscale argument:
In [15]: first_frame = video.read(index=0, grayscale=True)

In [16]: frames = video.read(start=0, stop=50, step=2, grayscale=True)
In addition to this, we can also optionally import frames into memory by supplying False to the low_memory argument:
# In-memory grayscale frames
In [17]: frames = video.read(start=0, stop=50, step=2, grayscale=True, low_memory=False)
Importing frames into memory...
Note that the frames are imported into a contiguous NumPy array and this can be accessed directly if you so choose:
# Retrieve the contiguous frame array
In [18]: frames_array = frames.ndarray

In [19]: frames_array.shape
Out[19]: (25, 844, 870)
Because any reading operation involving multiple frames uses the vuba.Frames container, we can also import the frames after our read operation:
In [20]: frames = video.read(start=0, stop=50, step=2, grayscale=True)

In [21]: in_memory_frames = frames.import_to_ndarray()
Importing frames into memory...
Regardless of whether you imported your frames into memory or not, they are accessible through a generator via Frames.__iter__:
import cv2

# Iterate across the frames and display them
for frame in frames:
    cv2.imshow("Frames", frame)
    k = cv2.waitKey(30)

    if k == 27:
        break
See also
For additional example scripts that cover usage of this module in more depth, see the following: